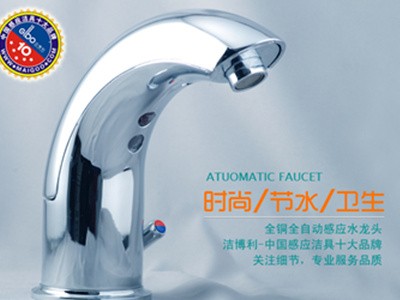
Water Pressure Requirements for Sensor Sanitary Ware
What are the water pressure requirements for sensor sanitary ware? The opera
Read more(Illustration)
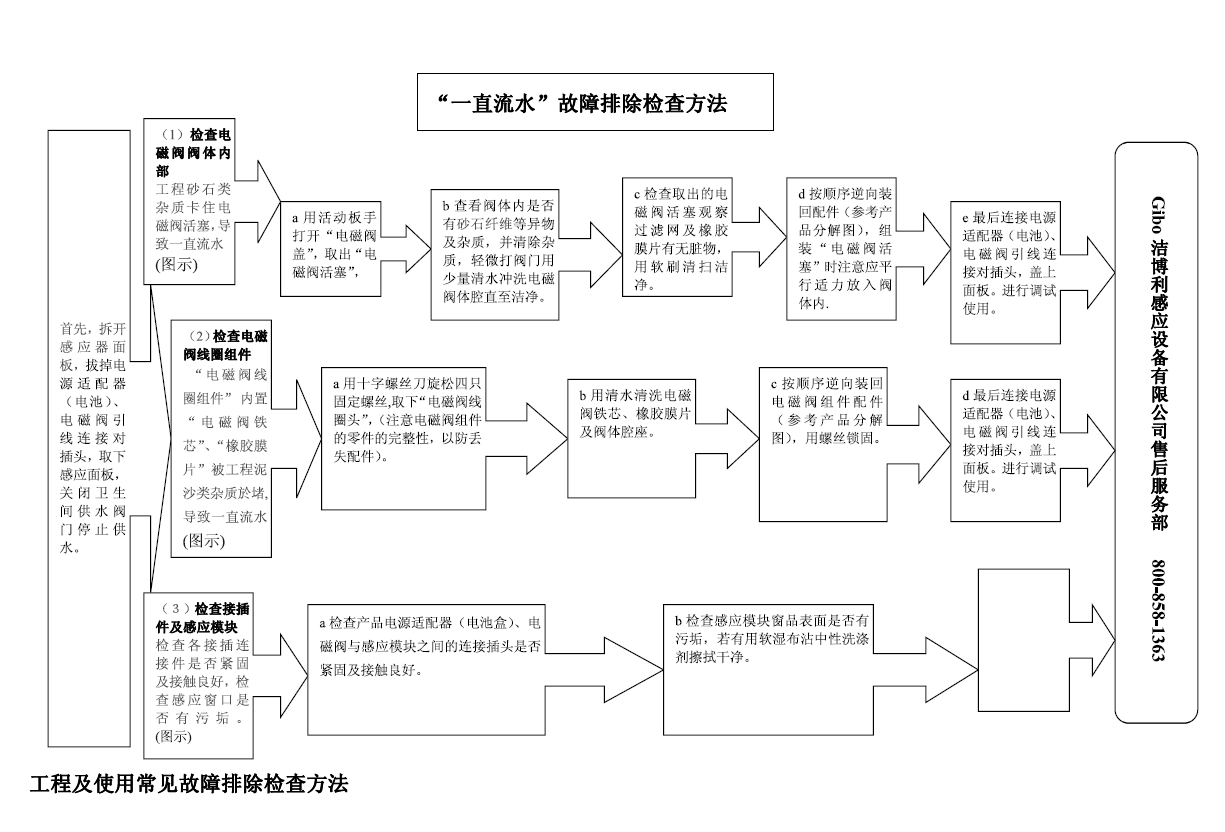
a. Use an adjustable wrench to open the urinal sensor's "Solenoid Valve Cover" and remove the "Solenoid Valve Piston".
b. Inspect the interior of the flush valve body for foreign objects such as sand, stones, or fibers, and remove any impurities. Lightly operate the valve and rinse the solenoid valve chamber with a small amount of clean water until clean.
c. Examine the removed solenoid valve piston, checking the filter screen and rubber diaphragm for dirt. Clean them thoroughly with a soft brush.
d. Reassemble the components in reverse order (refer to the product exploded view). When installing the "Solenoid Valve Piston", ensure it is placed parallel into the valve body with appropriate force.
e. Finally, reconnect the power adapter (battery) and the solenoid valve wire connector plug, then replace the panel. Test and commission the unit.
(2) Check the Urinal Sensor Solenoid Valve Coil Assembly
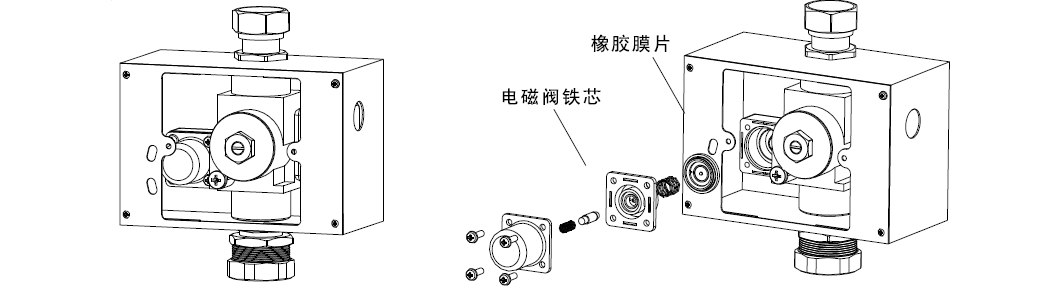
The "Solenoid Valve Coil Assembly" contains a "Solenoid Valve Iron Core" and a "Rubber Diaphragm". Blockage by engineering mud or sand can cause continuous water flow.
(Illustration)
a. Use a Phillips screwdriver to loosen the four fixing screws and remove the "Solenoid Valve Coil Head". (Ensure all parts of the urinal sensor solenoid valve assembly remain intact to prevent loss).
b. Rinse the solenoid valve iron core, rubber diaphragm, and valve seat cavity with clean water.
c. Reassemble the solenoid valve components in reverse order (refer to the product exploded view) and secure with screws.
d. Finally, connect the power adapter (battery box) and the solenoid valve wire connector plug, then replace the panel. Test and commission the unit.
(3) Check Sensor Sanitary Ware Connectors and Sensor Module
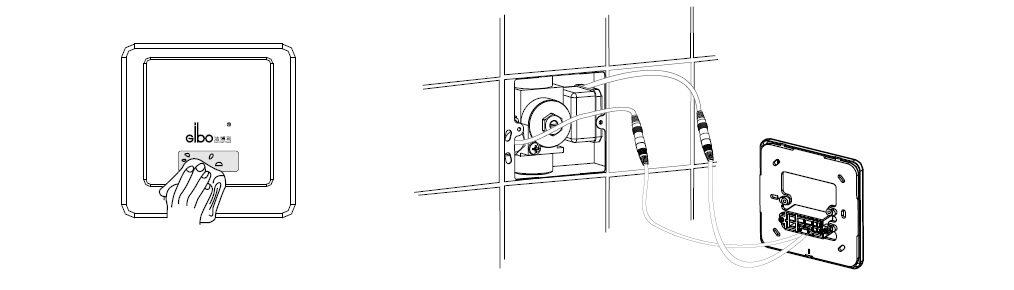
Check that all connectors are tight and making good contact. Inspect the urinal sensor detection window for dirt.
(Illustration)
a. Check whether the connection plugs between the squat pan sensor's power adapter (battery), solenoid valve, and sensor module are tight and making good contact.
b. Inspect the surface of the sensor module window for dirt. If present, wipe it clean with a soft damp cloth and neutral detergent.
◆
What are the water pressure requirements for sensor sanitary ware? The opera
Read more
Why is your sensor faucet unresponsive? GIBO's touchless sanitary ware opera
Read more
To replace the batteries in GIBO sensor sanitary ware, remove the battery bo
Read more